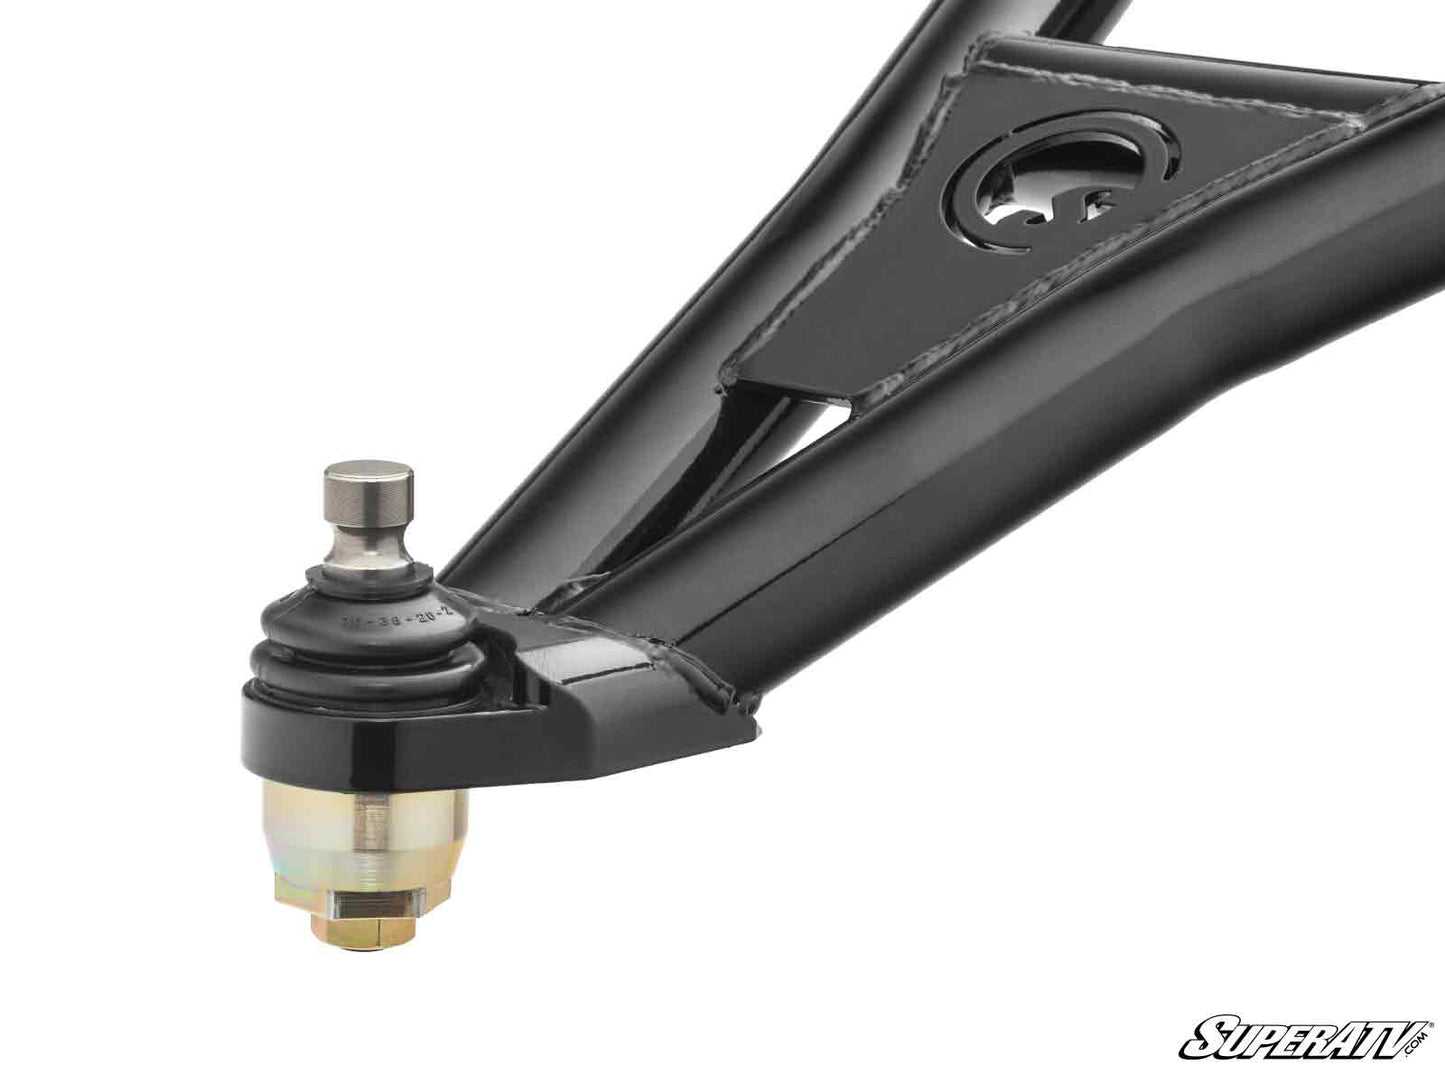
If you’ve dealt with factory ball joints pulling out or failing under load, you already know the problem. The stock snap ring design just doesn’t hold up when you start pushing the machine.
Keller’s two-piece design solves that. Instead of relying on a snap ring, these clamp your A-arm like a bolt and nut, making them far more secure and much harder to fail. Built for machines that actually get used, not babied.
If you’re running bigger tires, a lift, or just putting your Mule to work, this is one of those upgrades that prevents problems instead of reacting to them.
Key features
4340 hardened chromoly steel construction
Two-piece threaded design (no snap ring required)
Clamps A-arm for secure installation
Adjustable and rebuildable design
Greaseable for long-term performance
Heavy-duty boot retaining ring to prevent water intrusion
tips & Notes
Design Advantage:
Two-piece system eliminates common failure point of snap ring designs
Significantly reduces risk of ball joint pull-out under load
Performance Insight:
Ideal for machines running lifts, larger tires, or aggressive use
Designed to handle higher stress than OEM ball joints
Maintenance:
Fully serviceable with grease fitting
Adjustable to maintain tight, like-new performance over time
Durability:
Chromoly construction improves strength and wear resistance
Sealed design helps keep contaminants out
Installation
Remove factory ball joints from upper A-arms
Press in first half of Keller ball joint
Thread second half to clamp A-arm securely
Grease joint before use
Adjust as needed for proper fitment
Follow standard installation procedures and torque specifications
Have a Question?
Not sure about a product? That’s exactly what we’re here for.
Whether you’re dialing in your build, comparing options, or just want a second opinion before you buy, reach out and talk to a real person who knows these machines.