NOTE 1: Do NOT let the drive shaft come apart. If it does you will need to phase the u-joints. You can google the term for a better explanation. If you don't have it correct, you will experience horrible driveline vibration, and in most cases have to remove the front differential and drive shaft to get them into phase correctly. It sucks, don't do it. Be slow and methodical.
1. Loosen and remove pinch bolts on drive shaft yokes at the output shaft area. Note these bolts slide through a channel cut into the output shaft. They must be re-aligned during assembly.
2. Remove the 4 bolts on the bottom of the front differential to slide it forward. If you have a winch, it will need to be removed. If you have a 4th arm brace, it will need to be removed.
3.Slide the differential forward with the compete drive shaft.
4. Remove the 2 12mm bolts holding the OEM carrier in place.
5. Pull the shaft from the transmission. It may be tough to remove but it will come out. Sometimes penetrating oil may help.
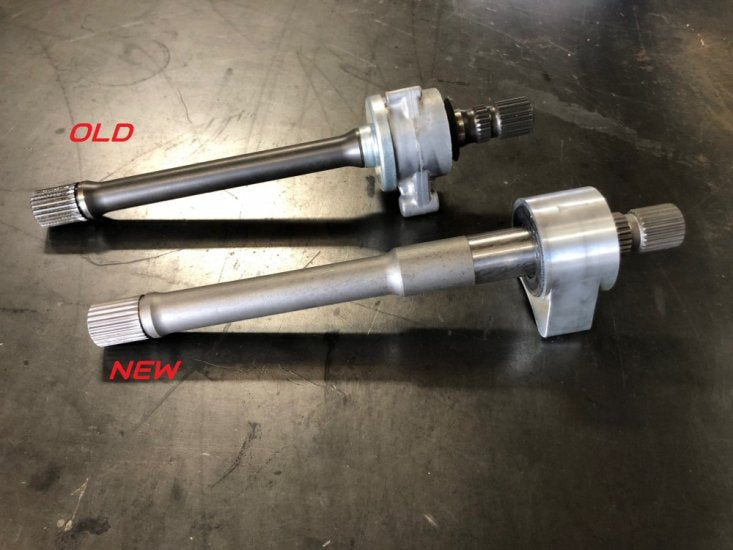
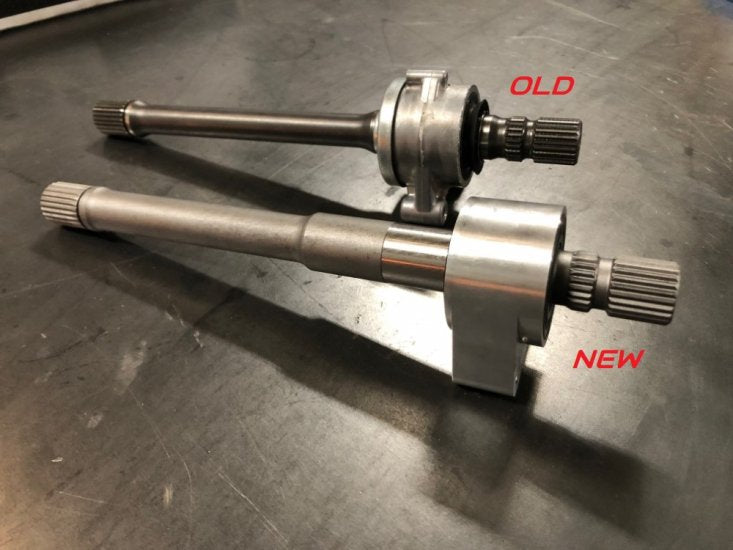
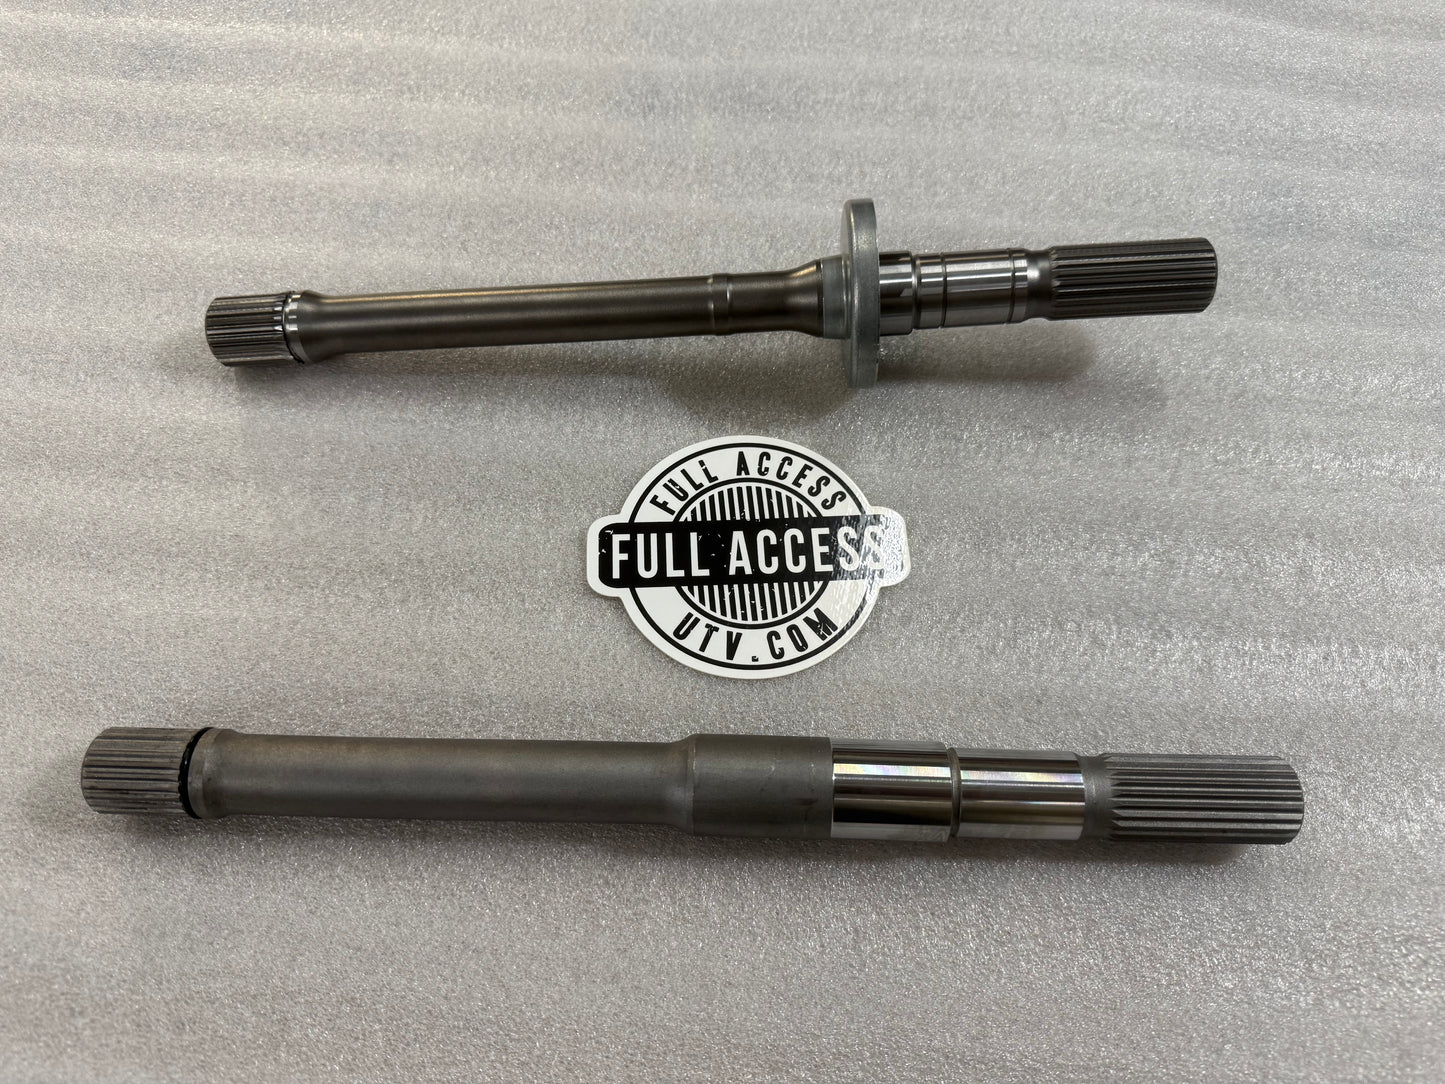
6. Clean the shaft and decide if your shaft has bearing wear or grooving. If it does, stop and order a new shaft or upgrade to our chromoly output shaft.
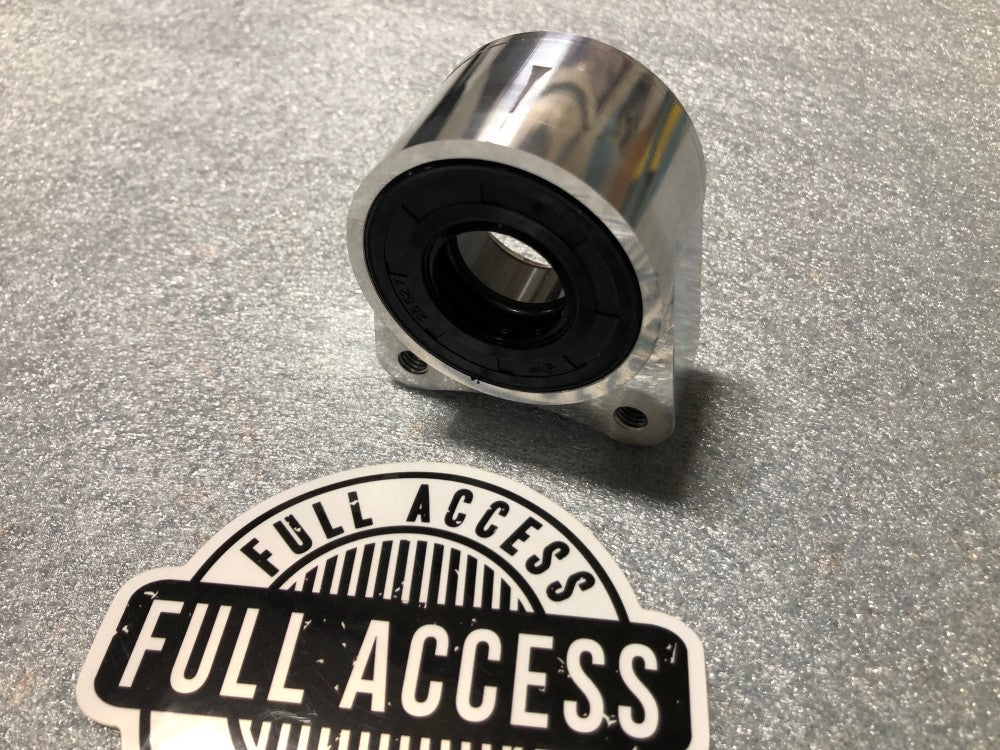
6A. If using our chromoly shaft install the new larger seal in the opposite end of the carrier. This end will go forward in the car.
7. Clean the shaft at the bearing mating surface with some brake cleaner, carb cleaner, acetone or? make sure there is no oil residue.
8. Slide the carrier onto the shaft in the correct direction. Don't completely install to the bearing area yet.
9. Apply grease to both side of the shaft at the splines. A little goes a long way.
10. Use the loctite provided between where the bearing will ride and the shaft. A little goes a long way. (please let the loctite set for 24 hours before driving)
11. Reinstall front snap ring.
12. Reinstall the carrier with the 2 factory bolts.
13. Assemble the rest of the drive shaft and front diff per the beginning of the directions.
14. Your done!